This work is licensed under a Creative Commons Attribution-NonCommercial-ShareAlike 3.0 Unported License.
So you want to make a pair of wings, but not sure where to start? Well, I'll you walk through the steps I take to create a wing pattern. Follow along and you should be able to take the same steps to create your own design.
First - What do you want your wings to look like?
For this example I want the final design to look like the wings of a Mockingjay, from the book/movie series Hunger Games. Now, Mockingjays are a fictional bird species, but have similar properties to actual birds, so its tricky but doable. Which leads to the next step:
Find References
Even if you are the artistic type and feel confident drawing your own wings and feathers, I still recommend finding some photographs of actual bird wings to base your creation on.
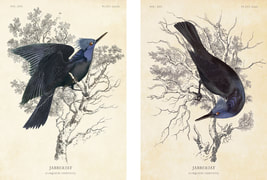
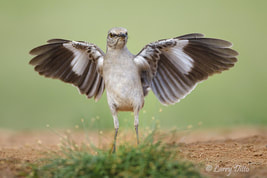
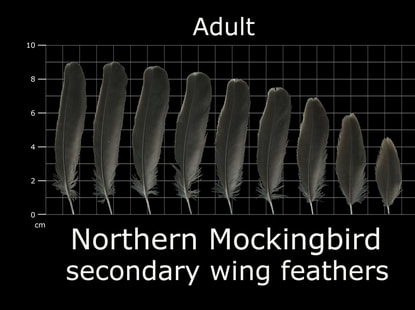
Mockingjays are a hybrid between the fictional Jabberjays & actual Mockingbirds, so I'll starting with them.
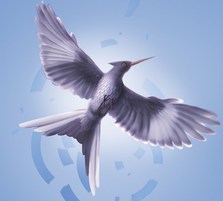
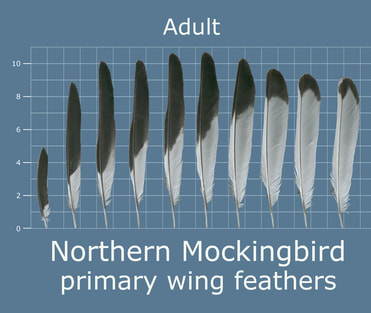
Not bad, on the book cover art the wings are a little longer/thinner than an actual mockingbird, so they have a few more feathers to them, but they seem to share the same most of the same feather shapes as found here:
However, we'll be using the MOVIE interpretation, which is best found in the title sequence & movie posters:
The wings are not fully open, but already this version is sharper and longer than the book art (probably to look more dramatic, like a bird of prey or a crow/raven), which we'll have to take into account when sizing the feathers.
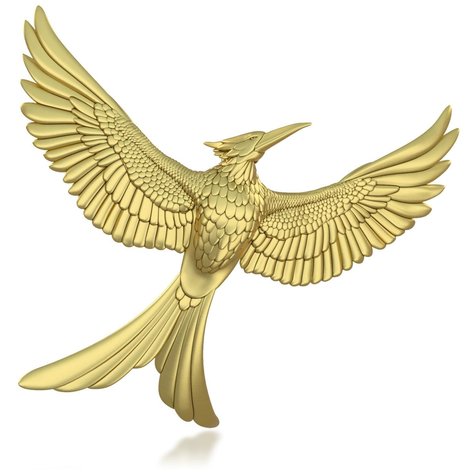
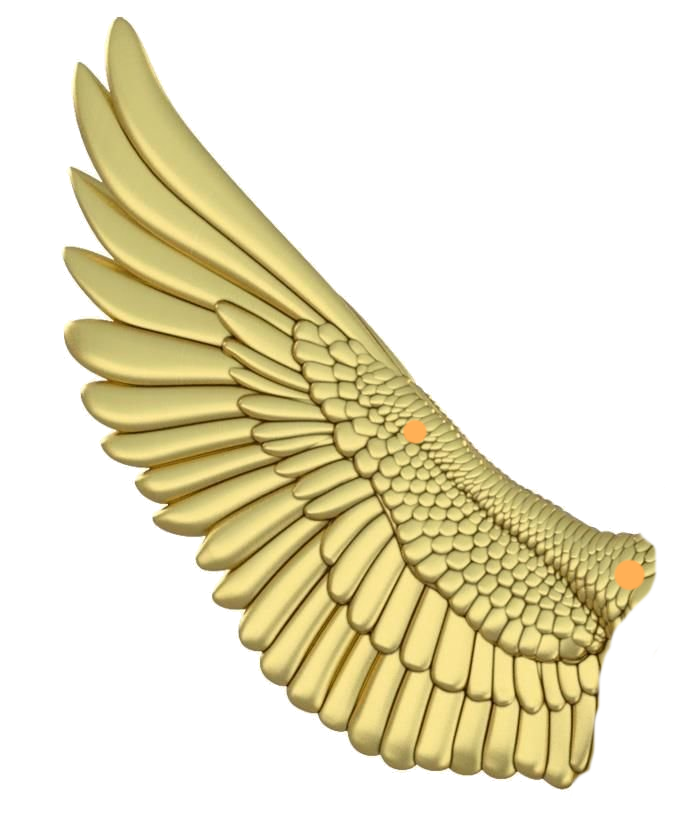
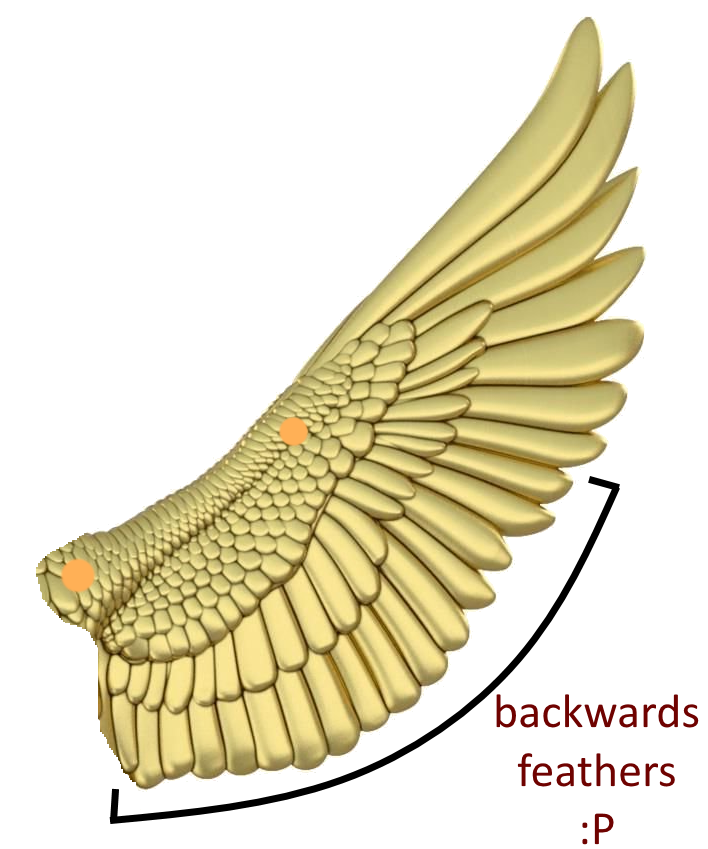
Luckily, I found a fully-open wing version of the movie one, found here in the form of a metal Christmas ornament:
Luckily, I found a fully-open wing version of the movie one, found here in the form of a metal Christmas ornament:
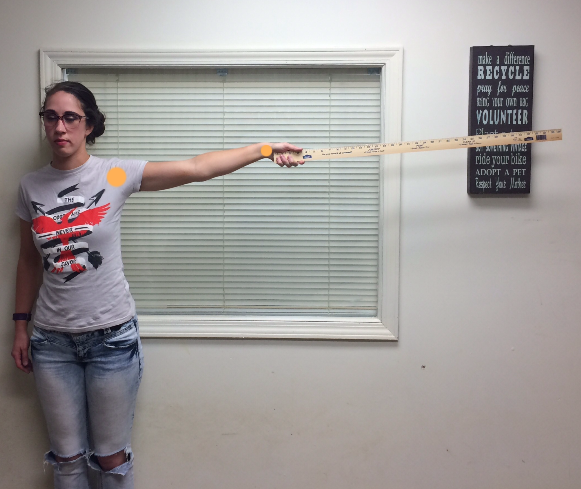
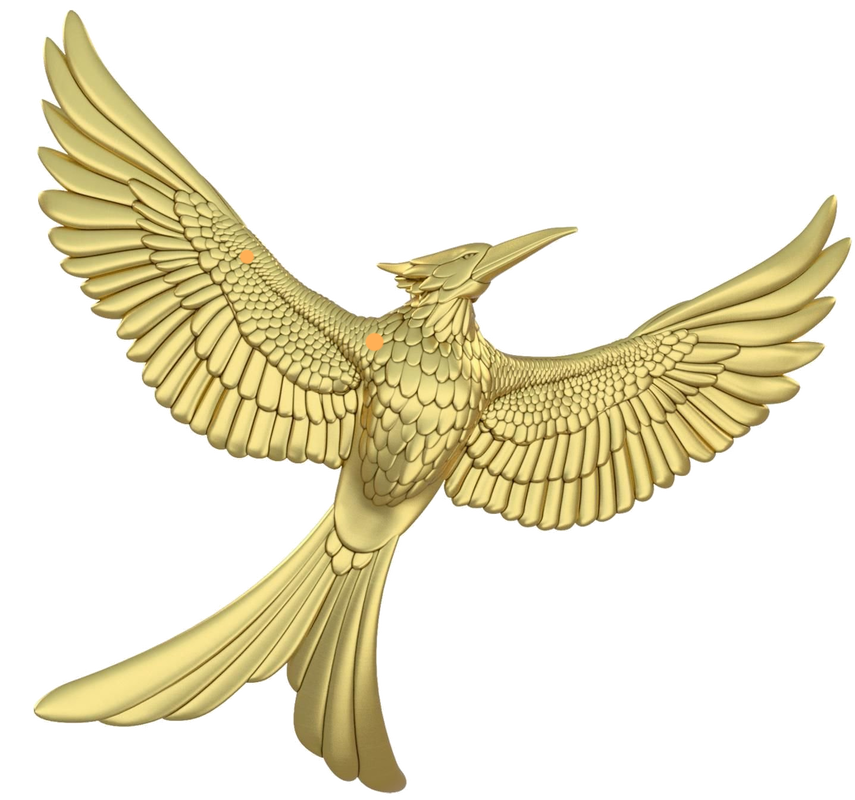
I'll be using the left wing for my feather sizing, since it's straighter and less overextended than the right. It's easy to imagine where the wing bones are for the wrist & shoulder, our two most important spots to match up on our human subject. Speaking of which, here she is now!
Standing with your arm parallel to the ground holding a yardstick is about the best pose you can get for matching up your reference wing to your own arm. I've marked the shoulder & wrist in orange here, and will be doing the same thing for the wing reference, so that initially it's just a matter of rotating & resizing the wing to match.
I'll be using Paint.NET for this part, since it's got simpler mechanics that are easier to explain, though the following could be done just as easily in Inkscape or Photoshop, etc:
Put the wing on it's own layer with a lower opacity, makes it easier to match up.
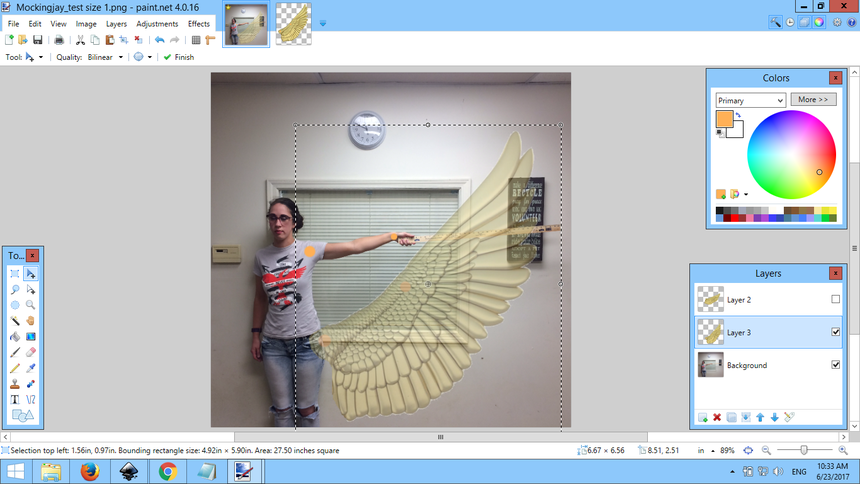
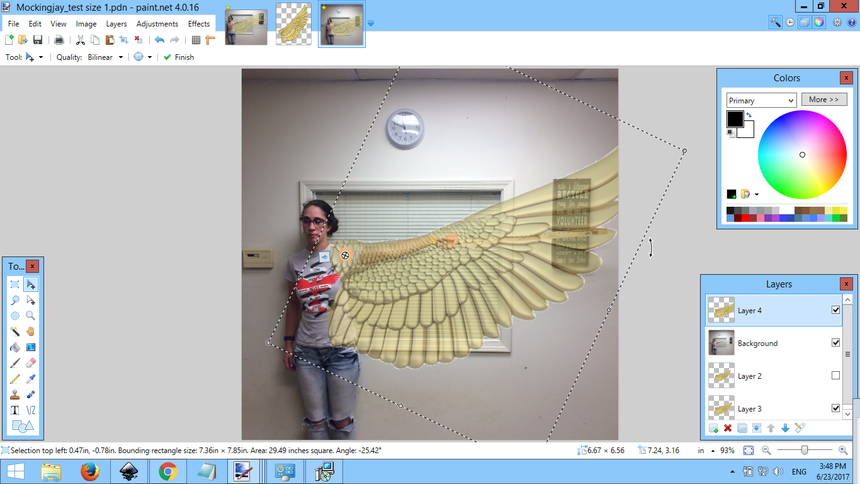
Shoulder point locked - once this is in place, drag the (x) n the center of the selected wing to the orange shoulder point, & rotate it until the wing's wrist point is in line with the human reference.
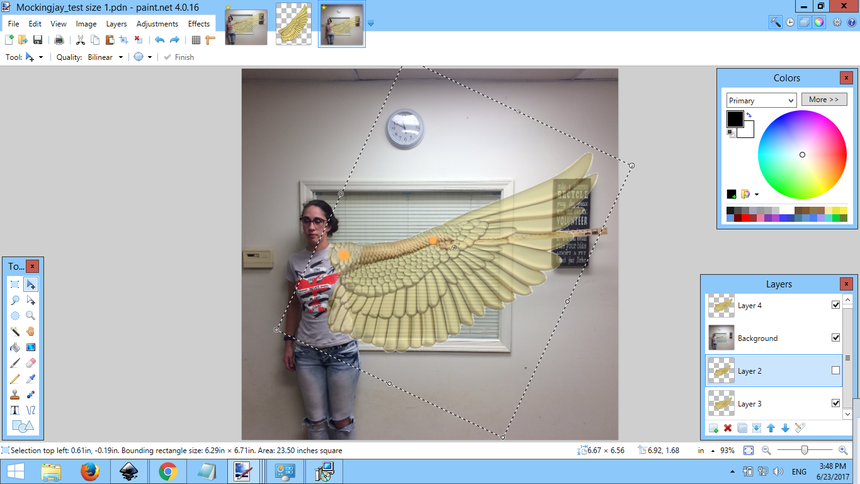
Now hold down 'Shift' and click/drag the upper right corner of the box to resize the reference wing until the 2nd orange point matches up with the wrist marker. Holding down 'Shift' locks the wing's aspect ratio, and prevents you from accidentally making it too thick or skinny.
Exhibit A:
Exhibit A:
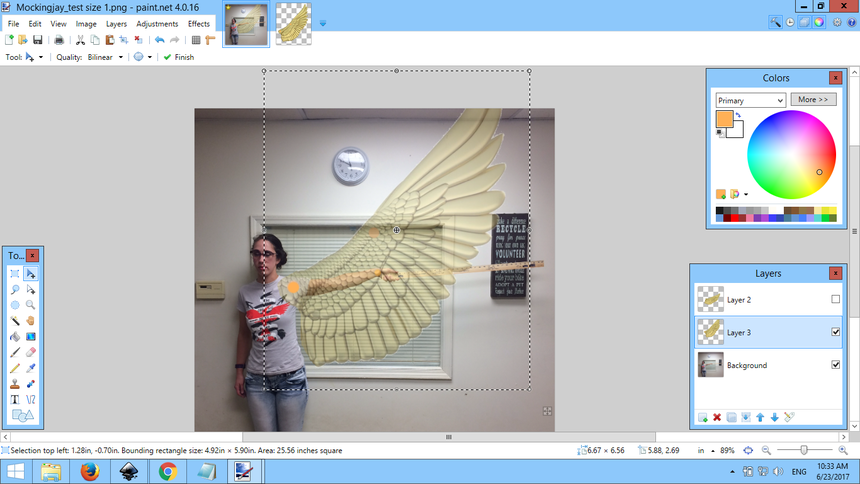
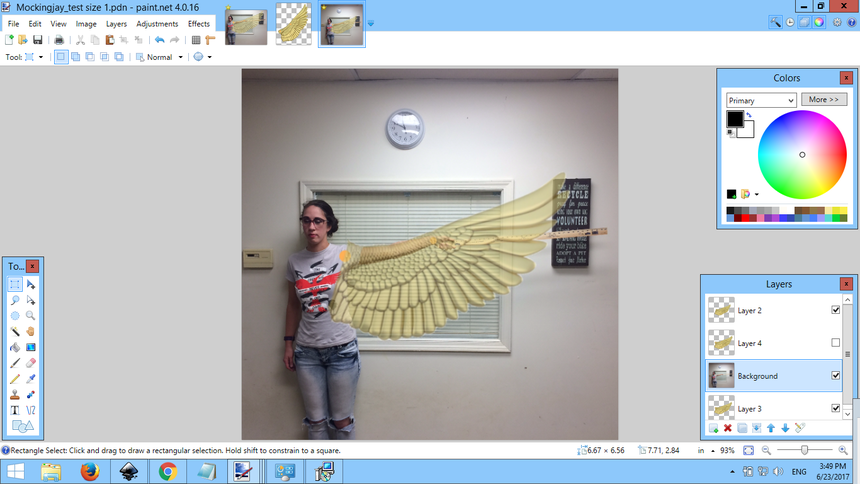
Not bad! It's a wing alright~ Still, take a moment to really look at it. Imagine how the wings would look if you made the feathers this long. Does it feel right? If not, fiddle with it until it does, for instance:
Exhibit B:
Exhibit B:
The first one feels very big and showy, but might be a bit much for a first-time wing-maker, heavier & harder to navigate in small spaces (also, in Exhibit A the longest feather will definitely drag on the ground if their arms are slack/not held up a certain amount, where with Exhibit B there's a higher chance it'll be possible to give your arms a break & not mess up your feather tips...)
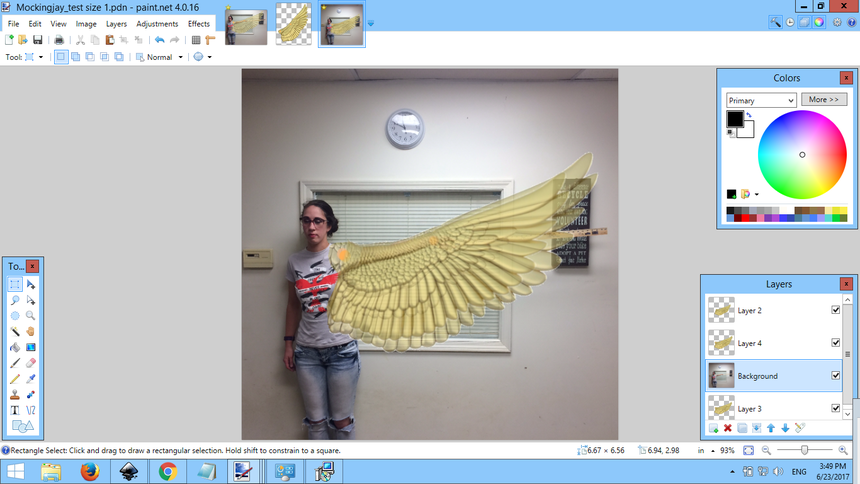
Exhibit A & B overlaid for comparison (a few inches makes a big difference in how the final result feels, I think):
Exhibit A & B overlaid for comparison (a few inches makes a big difference in how the final result feels, I think):
Gonna continue with Exhibit B for now, so moving on -
I recommend using Inkscape (or your vector program of choice) for the next part, since every line you make is an object that can be easily manipulated, changed, and measured within the program. If you don't want to download and learn the basics, this can be done in Paint.NET as well, just make sure that each line/feather is on it's own layer.
I recommend using Inkscape (or your vector program of choice) for the next part, since every line you make is an object that can be easily manipulated, changed, and measured within the program. If you don't want to download and learn the basics, this can be done in Paint.NET as well, just make sure that each line/feather is on it's own layer.
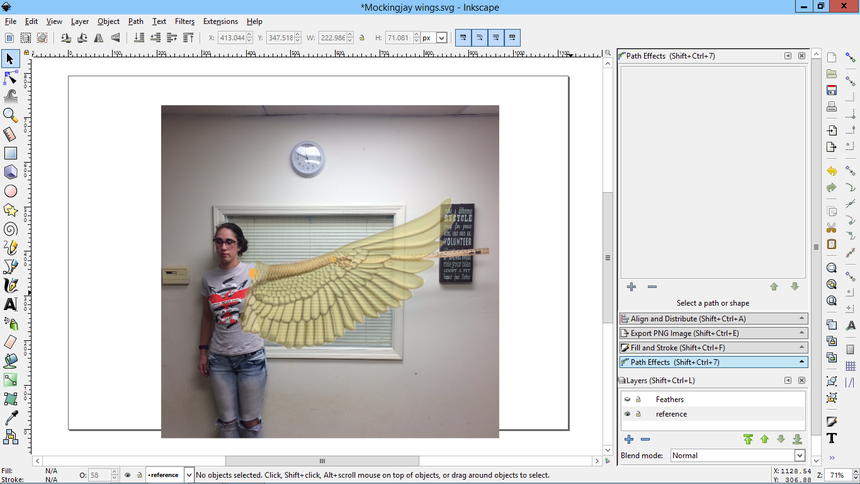
So here we are in Inkscape. I've put the reference photo with wing included on one layer, and created another above it for the feathers. Before we start tracing out feathers & laying down shafts, we'll need to decide on a few reference points...
This page is still a work-in-progress, but the full version is available on my deviantArt page~


